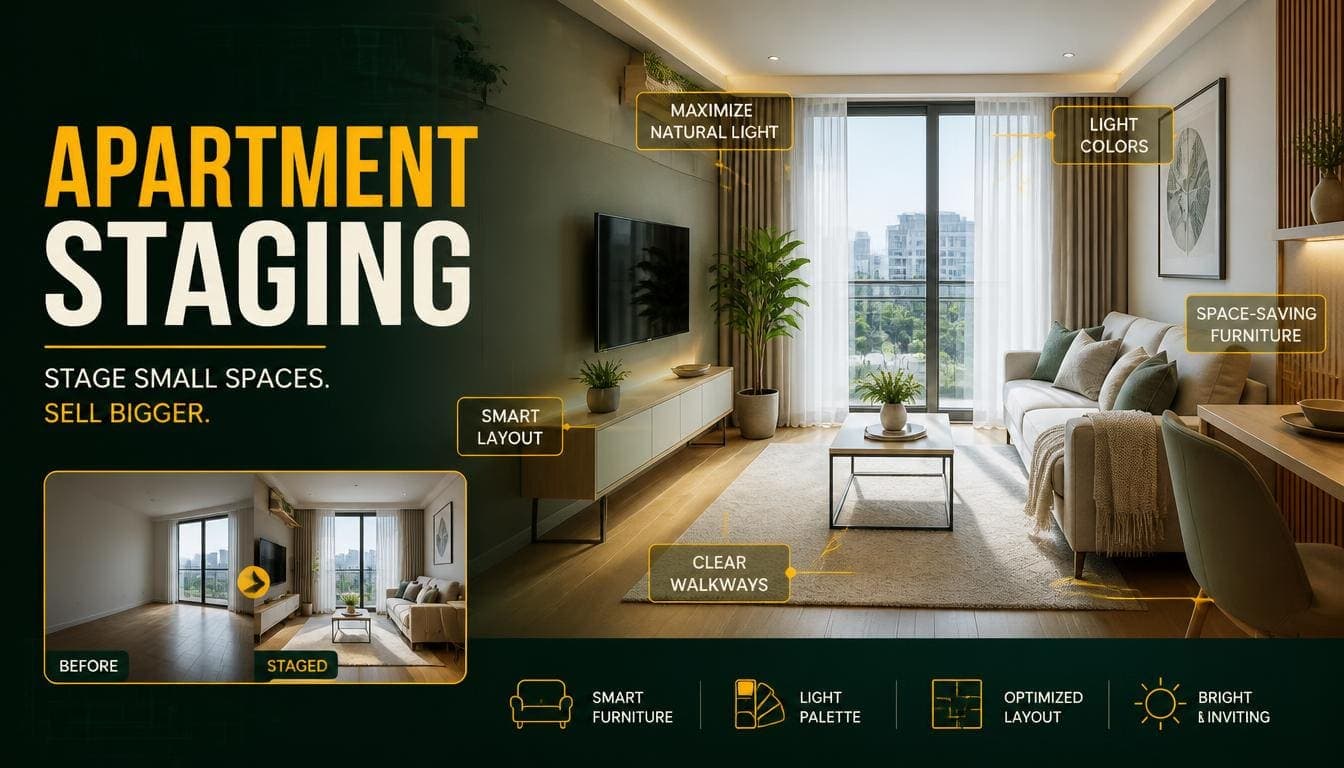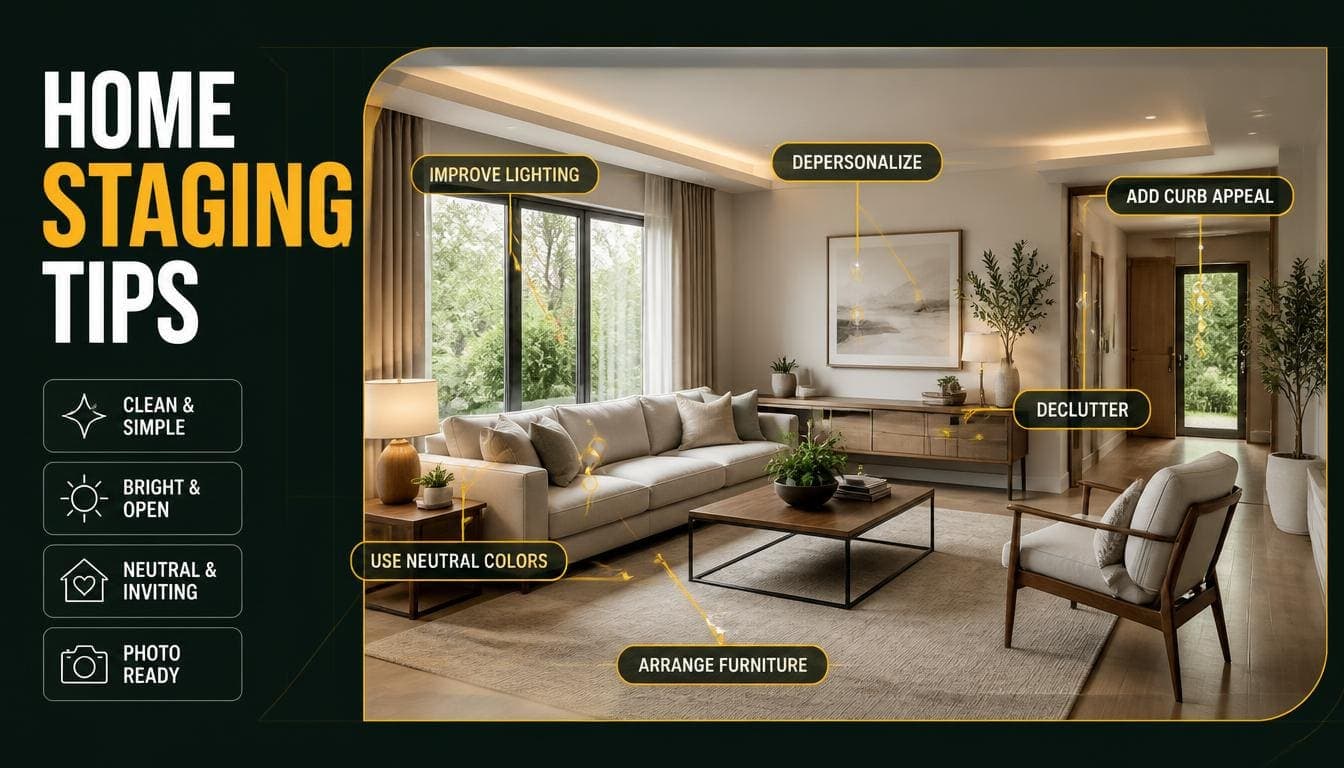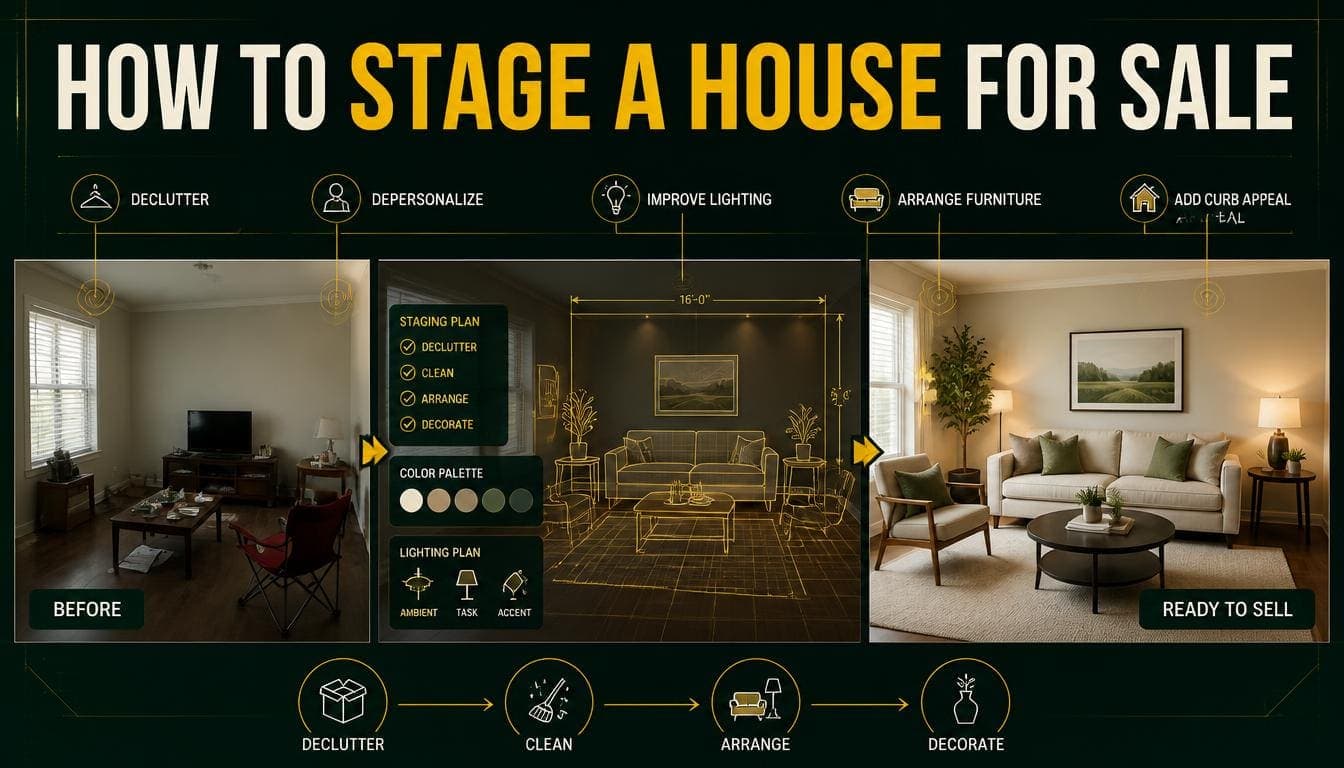
Staging a whole house is a different problem from staging one room. The individual rooms matter, but so does consistency between them, the order you work in, and knowing where to stop.
This is the full sequence — what to do property-wide first, then room by room, with the decisions that actually affect outcomes and the ones that don't.
Before Any Room: Property-Wide Work
Do these first. They affect every room, and doing them later means redoing work.
1. Declutter — Roughly a Third
Every room should have visibly less in it.
The test: if you removed a third of the objects from a room, would anyone notice something specific was missing? Usually not. But the room will photograph noticeably better.
Where it goes: a garage, a storage unit, or one designated room you don't photograph.
Time: 1–2 days. Cost: free, or storage hire.
2. Remove Personal Items
Family photographs, certificates, religious items, collections, children's artwork on the fridge, personal toiletries.
Why: buyers need mental room to imagine their own life in the space. Personal items interrupt that.
This isn't about the items being unattractive.
3. Deep Clean
Priority order: windows inside and out, floors and carpets, kitchen including the oven, bathrooms including grout, skirting boards, light fittings.
Cost: free yourself, or $150–$300 professionally. Worth it if you're time-constrained — it shows in every photograph.
4. Fix the Cheap Cosmetic Things
- Fill and paint nail holes
- Touch up scuffed skirting and door frames
- Replace every blown bulb
- Fix dripping taps
- Oil squeaking doors
- Reseal discoloured bath silicone
- Replace cracked switch plates
Time: 1–2 days. Cost: under $200.
5. Neutralize Divisive Colour
Only rooms with a colour that will divide opinion. Not rooms that are simply a bit tired.
Cost: $100–$200 per room in materials.
6. Decide the Style
One style across the whole property. Mixing reads as disjointed.
If unsure: Contemporary for suburban houses, Modern for urban, Scandinavian for small or dim rooms.
Match the price tier. Luxury staging on a modest property creates expectations the viewing won't meet.
Try DecoAI Free
3 free credits. No credit card needed. Stage any room in 30 seconds.
Get 3 Free CreditsEntrance and Hallway
First impression, and usually the most neglected space.
Remove: coats, shoes, post, bags, umbrellas, anything stored there.
Add: a clean doormat, a mirror if the hall is narrow, one plant if there's room.
Check: the hall light works and is bright enough. Hallways are usually the darkest part of a property.
Photography: shoot from the front door looking in, or from the far end looking back — whichever shows more depth.
The point: a cluttered entrance sets the tone for everything after it.
Living Room
The most important room. Usually your listing thumbnail.
Layout
Pull furniture away from the walls. Even 15–20cm. Wall-hugging arrangements make rooms feel like waiting areas.
Create a conversation area — seating facing inward toward a coffee table or each other, not outward at the walls.
Face the focal point — fireplace, window, or feature wall.
Keep the walkway clear — 75cm minimum from the entrance through to other doorways.
Furniture
Scale to the room. Under 15 m²: loveseat, one chair, small table. Over 25 m²: full seating group or two zones.
Reduce the count. Extra chairs, side tables, and anything in the corners.
Rug
Large enough that at least the front legs of all seating rest on it. A rug touching nothing reads as a placemat.
Finishing
- Two lamps at different heights, in addition to the ceiling light
- One or two objects on the coffee table, not five
- One large artwork rather than several small ones
- Cushions straightened, cables hidden, remotes out of sight
Kitchen
The most scrutinized room, and the one that benefits most from clearing rather than adding.
Clear Completely
Every countertop item: toaster, kettle, coffee machine, knife block, utensil holder, dish rack, fruit bowl, bread bin, chopping boards.
The fridge front: magnets, photos, notes, children's drawings.
The sink: dishes, washing-up liquid, sponges, cloths on the tap.
The floor: bins, mats, anything stored.
Why: empty counters make a kitchen look larger and better equipped. Three appliances on the counter reduce apparent workspace substantially.
Add Back — Maximum Three Things
- One bowl of fruit or a small plant
- Bar stools if there's an island, tucked in
- One folded tea towel
That's it. Resist adding more.
Lighting
Turn on every light including under-cabinet strips. Kitchens usually have less natural light than living areas.
Bedrooms
The Primary Bedroom
Bed placement: against the longest uninterrupted wall, not under a window if there's an alternative, not directly facing the door.
Clearance: 60–75cm on both sides.
Bedside tables: both sides. A single table reads as a constraint.
Bedding: neutral, made perfectly. Wrinkles are highly visible in photographs.
Furniture count: bed, two bedside tables, and one other piece maximum.
Remove: clothes, laundry, exercise equipment, anything under or beside the bed.
Additional Bedrooms
Keep them reading as bedrooms. If bedroom count is a selling feature, don't stage the third as an office.
Children's rooms: reduce toys substantially, keep the styling neutral. Heavily themed rooms narrow the appeal.
Guest rooms: the simplest to stage. Bed, two bedside tables, done.
Try DecoAI Free
3 free credits. No credit card needed. Stage any room in 30 seconds.
Get 3 Free CreditsBathrooms
The easiest rooms to prepare and among the most scrutinized.
Remove everything: all toiletries, toothbrushes, razors, medications, bath toys, cleaning products, laundry, bath mats, towels in use.
Add: fresh folded towels in white or a single neutral colour. One plant if there's space.
Close: the toilet lid. Always.
Clean: grout, limescale, mirror, and the inside of the shower screen.
Photography: shoot from the doorway. Check what appears in the mirror — including you.
Dining Room or Dining Area
Table size: show the largest table that maintains 90cm clearance to walls on all sides. A table for six with proper clearance reads better than eight without.
Chairs: the number the room genuinely accommodates. Chair count is the room's capacity claim.
Rug: extending 60cm beyond the table edge so chairs stay on when pulled out.
Lighting: pendant centred over the table, not the room, hung 75–85cm above the surface.
Table setting: a runner and one central object. Full place settings read as artificial.
Home Office or Spare Room
Decide what it is first. If the property is marketed as three-bedroom, stage the third as a bedroom. If bedroom count isn't a headline, an office may add more.
If staging as an office: desk perpendicular to the window, an actual office chair not a dining chair, some visible storage, a desk lamp.
Consider showing both versions in the listing if you're staging digitally — it demonstrates flexibility at minimal cost.
Outdoor Spaces
Frequently underrated and often photographed badly.
Clear: bins, tools, toys, hoses, anything stored.
Cut back: overgrowth, particularly anything blocking windows or paths.
Mow and edge the lawn. Edging matters more than mowing for photographs.
Add: outdoor seating if there's space. Even two chairs and a small table demonstrate the space is usable.
Sweep: paths, patio, and driveway. Pressure wash if stained.
Photograph: in the hour before sunset for the best light.
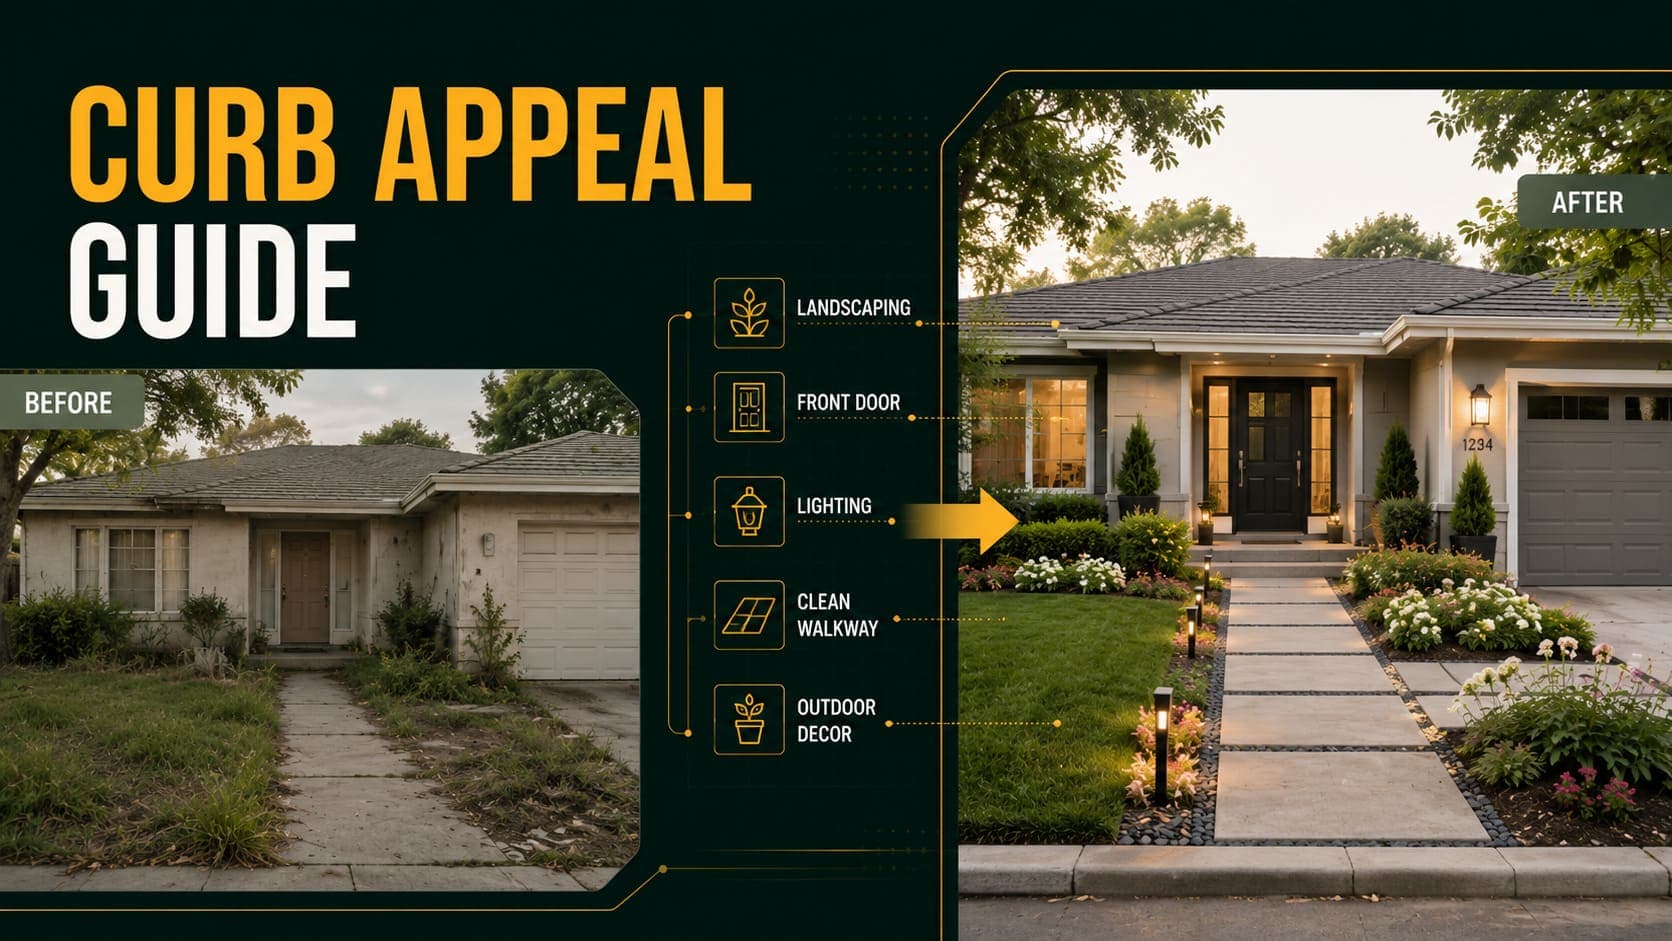
Exterior and Kerb Appeal
The highest-return item: the front door. Clean it, or repaint for $30–$60. It's the most-looked-at element of any frontage.
Also: new doormat, clear gutters, remove bins, weed the path, clear the driveway of cars.
Photograph: from an angle rather than straight on, in the hour before sunset.
Where to Spend and Where Not To
| Action | Cost | Return |
|---|---|---|
| Declutter | Free | Very high |
| Deep clean | $0–$300 | Very high |
| Rearrange furniture | Free | High |
| Fix cosmetic issues | Under $200 | High |
| Add lamps | $60–$150 | High |
| Front door paint | $30–$60 | High |
| Neutral repaint (divisive rooms) | $100–$200/room | Moderate |
| Virtual staging photos | $0.50–$2 | Very high |
| New carpet | $1,500–$4,000 | Low |
| New kitchen | $8,000–$25,000 | Low |
| New bathroom | $5,000–$15,000 | Low |
| Physical staging | $2,300–$3,200 | Variable |
The pattern: free and cheap actions return most. Expensive renovations rarely recover their cost when done specifically to sell — buyers factor them into offers either way.
Staging Vacant vs Occupied
Vacant Property
Advantage: rooms can be photographed genuinely empty, which means digital staging works properly.
Approach: clean, fix cosmetics, photograph empty, stage 4–6 images digitally.
For viewings: a small reusable prop kit — a rug, plants, towels, a mirror — costing $200–$500 stops rooms feeling stark.
Occupied Property
Advantage: already furnished, so scale is readable.
Approach: decluttering and photography do most of the work. Digital staging tools need empty rooms, which is usually impractical.
Where staging still helps: any room you can clear entirely for an afternoon — a spare room, a study.
The Photography
Do this after everything above, not before.
Timing: between 10am and 2pm for interiors, the hour before sunset for exteriors.
Preparation: every light on, all curtains fully open, floors clean.
Technique: stand in a corner facing diagonally, camera at chest height (~1.2m), level, moderate wide-angle (0.5x not fisheye).
Coverage: two or three angles per room. 15–20 images total for the listing.
Order: best living space first, then kitchen, primary bedroom, outdoor space — those first four carry the listing.
Common Whole-House Mistakes
1. Starting With One Room
Property-wide decluttering and cleaning first. Otherwise you redo work.
2. Mixing Styles Between Rooms
A Modern living room next to a Traditional bedroom reads as disjointed.
3. Staging Every Room Equally
The living room and primary bedroom carry the listing. Hallways, utility rooms, and garages don't need equal effort.
4. Renovating to Sell
Kitchens, bathrooms, windows, and flooring rarely return their cost when done specifically for a sale.
5. Photographing Before Preparing
The most common sequencing error.
6. Leaving Personal Items in Frame
Photographs on shelves, letters on tables, and toiletries visible in bathroom mirrors.
7. Overstaging
Every surface styled reads as a showroom rather than a home. One or two objects per surface.
8. Staging Above the Property's Tier
Creates expectations the viewing can't meet.
The Sequence in Order
Week 1
- Declutter throughout — a third of everything
- Remove all personal items
- Fix cosmetic issues
- Repaint divisive rooms
Week 2 5. Deep clean, including windows and carpets 6. Exterior work — front door, gutters, path, lawn 7. Arrange furniture room by room 8. Add lamps where lighting is single-source
Week 3 9. Photograph all rooms, 10am–2pm, two or three angles each 10. Photograph exterior at golden hour 11. Stage 4–6 images digitally if the property is vacant 12. Build the listing — 15–20 images, strongest first
Total time: roughly three weeks part-time. Total cost: $200–$700 depending on cleaning and paint.
Frequently Asked Questions
How do I stage a house for sale?
Declutter and clean property-wide first, fix cheap cosmetic issues, then work room by room — living room and primary bedroom matter most. Photograph last, after everything else is done.
Which rooms should I stage first?
The living room and primary bedroom. Those two, plus the kitchen and outdoor space, carry the listing.
How much does staging a house cost?
$200–$700 for decluttering, cleaning, cosmetic fixes, and lamps. Virtual staging photos add $0.50–$2. Physical staging costs $2,300–$3,200.
Should I renovate before selling?
Generally no. Kitchens, bathrooms, windows, and flooring rarely return their cost when done specifically to sell. Buyers factor them into offers either way.
Do I need to stage every room?
No. Concentrate effort on the living room, primary bedroom, kitchen, and outdoor space. Hallways, utility rooms, and garages need cleaning rather than staging.
Should I use one style throughout?
Yes. Mixing styles between rooms reads as disjointed even to viewers who can't identify why.
How long does it take to stage a house?
Roughly three weeks part-time — a week decluttering and fixing, a week cleaning and arranging, a week photographing and listing.
Can I stage a house I still live in?
Yes, though the work is mostly decluttering rather than adding. Digital staging tools need empty rooms, which is usually impractical when occupied.
What's the highest-return staging action?
Decluttering. It costs nothing, takes a weekend, and does more than any purchase.
Summary
Property-wide first: declutter a third, remove personal items, deep clean, fix cheap cosmetics, decide one style.
Room priority: living room, primary bedroom, kitchen, outdoor space. Those four carry the listing.
Where to spend: cleaning, lamps, front door paint, and staged photographs. Not kitchens, bathrooms, or flooring.
The sequence: declutter, fix, clean, arrange, then photograph. Photographing before preparing is the most common error.
Timeline: three weeks part-time, $200–$700.
Stage the photos last. DecoAI gives 3 free credits with no card required — enough to stage your living room and primary bedroom, which is where most of the effect sits.