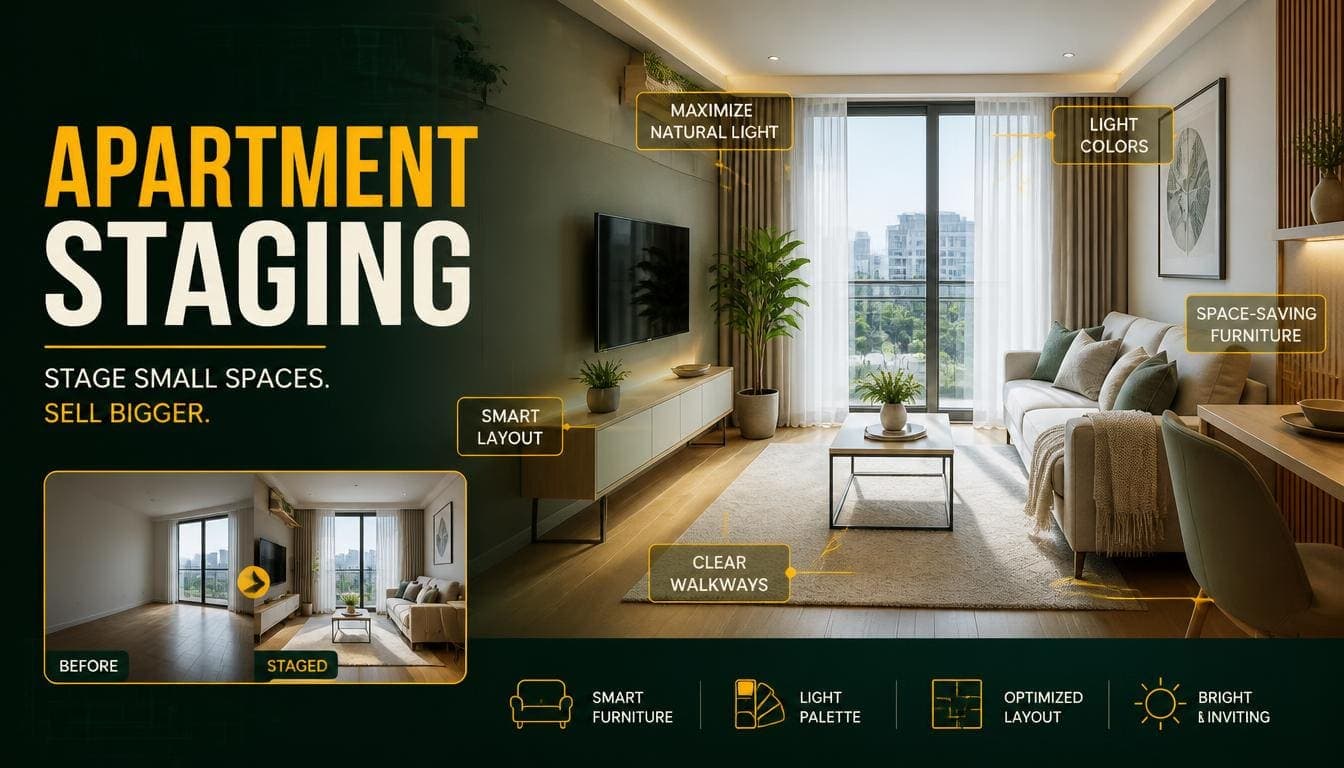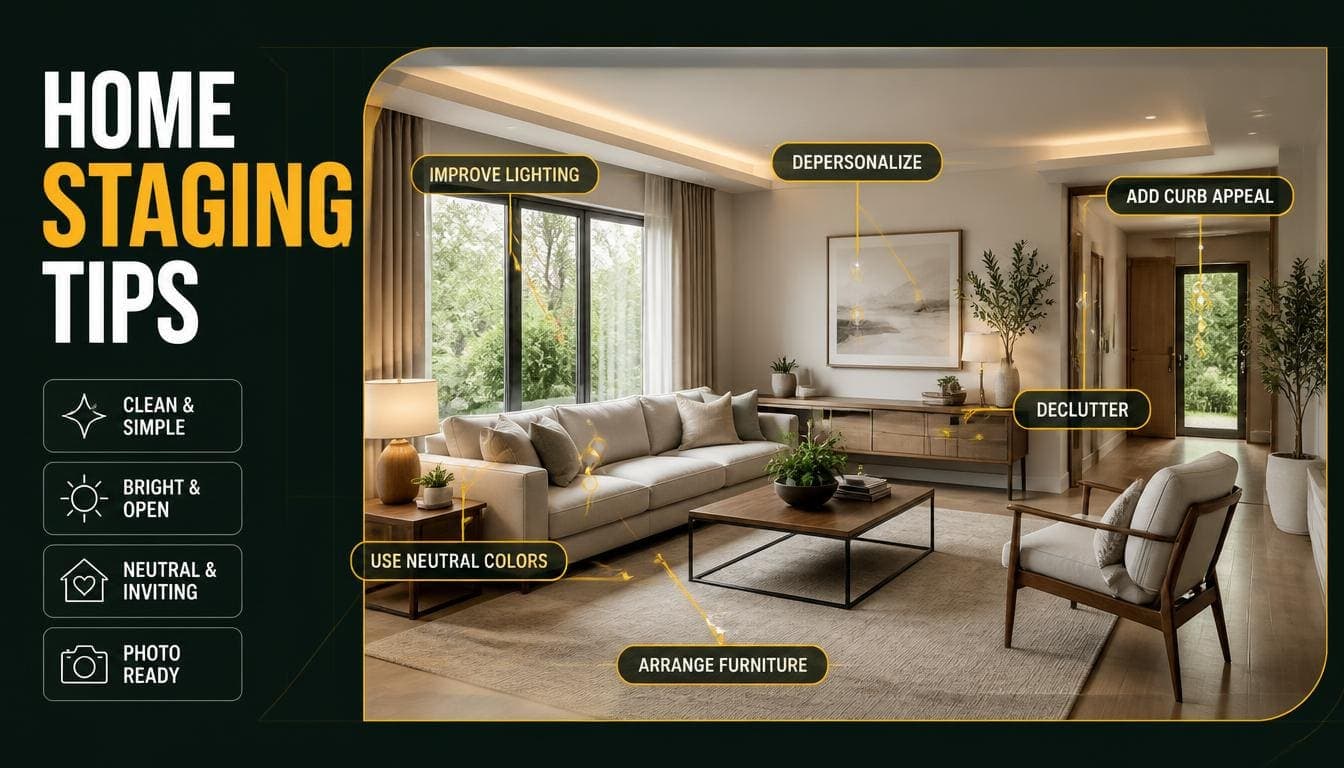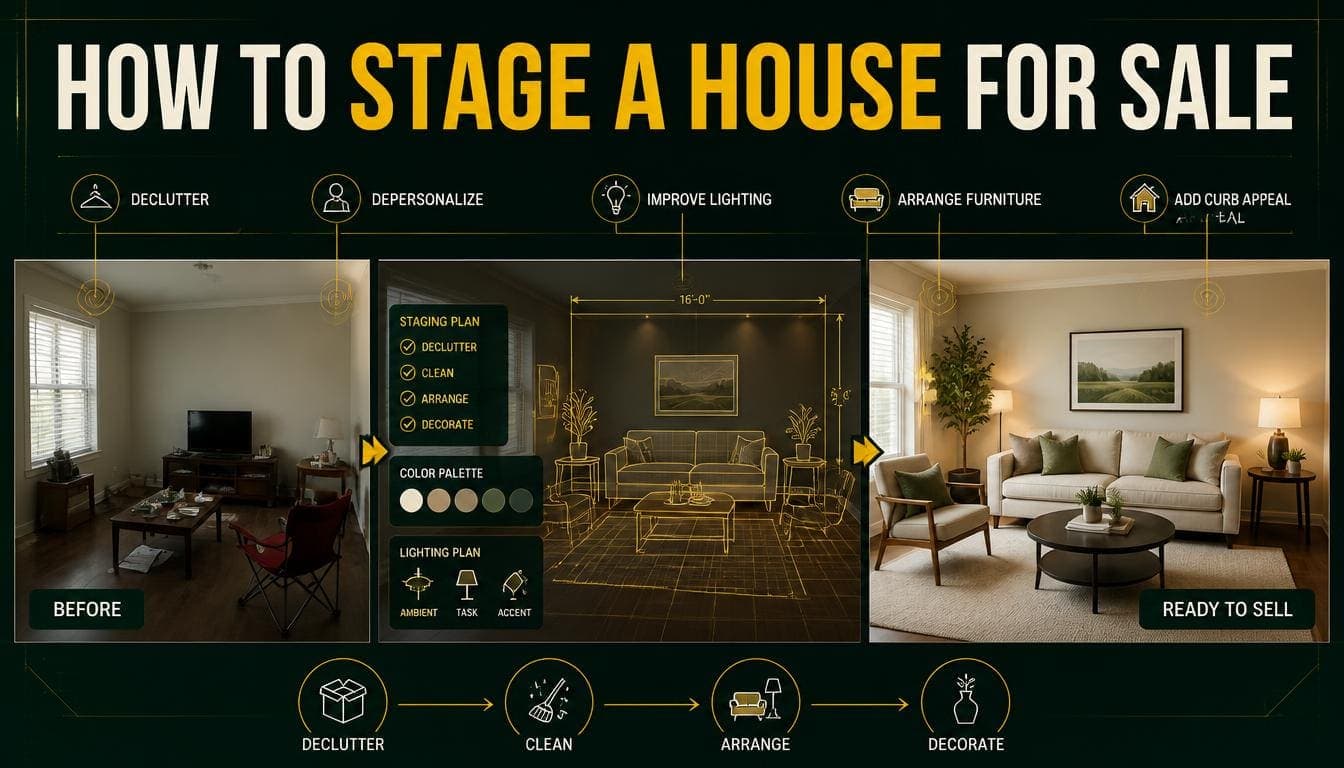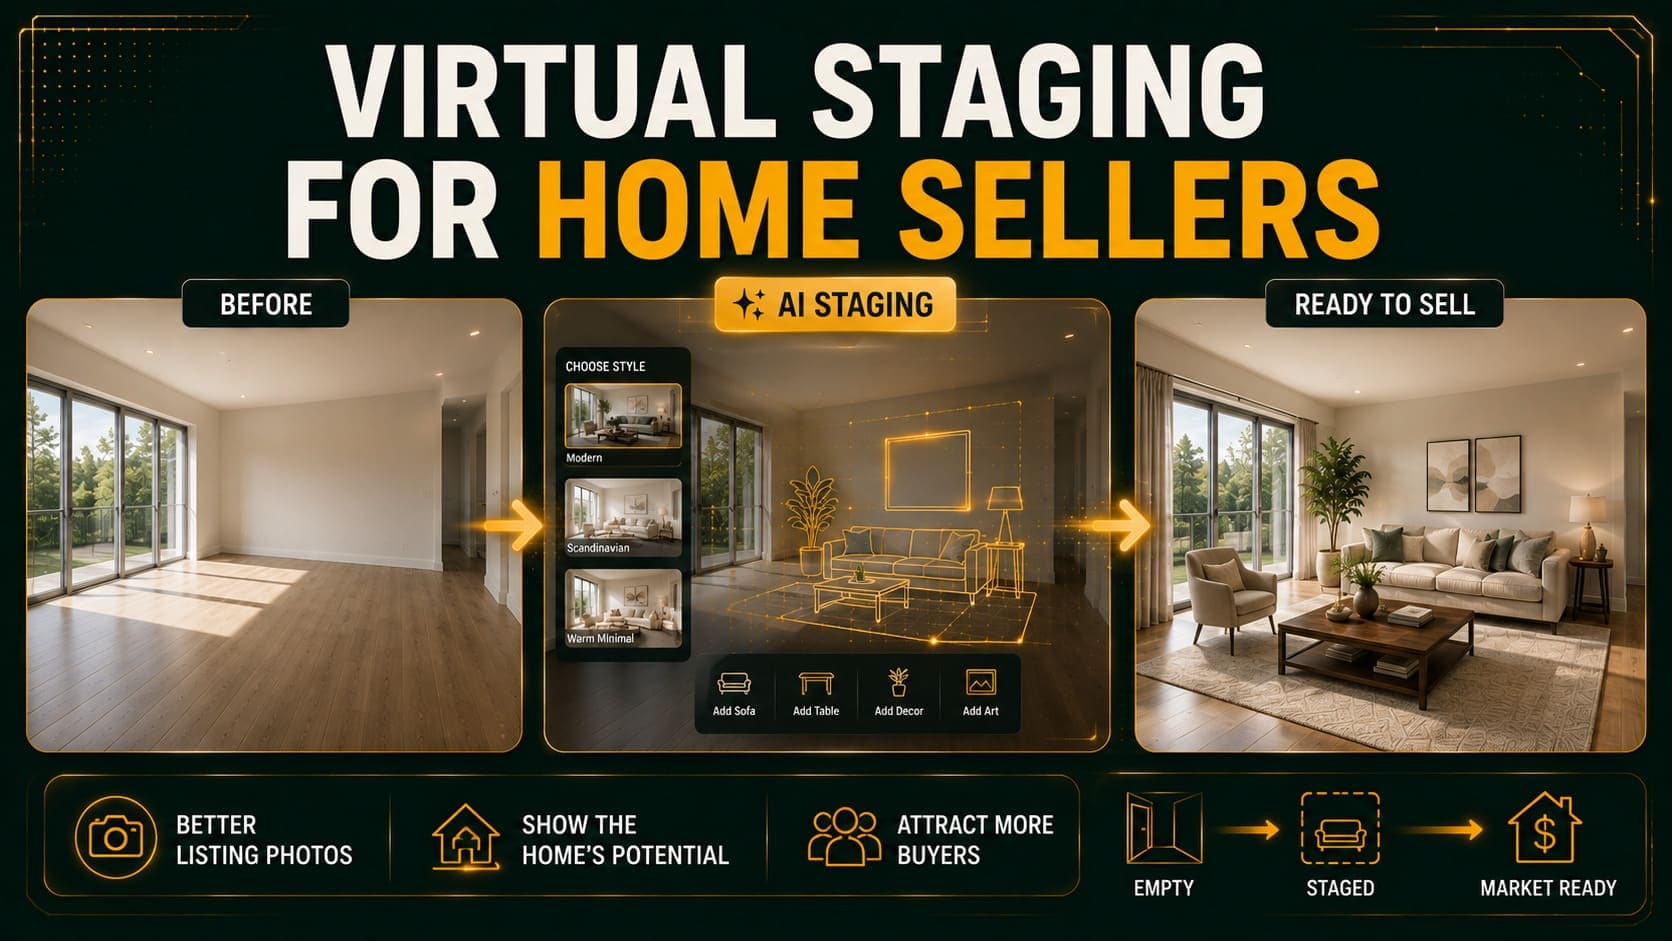
If you're selling privately, the listing photos are doing the work an agent's marketing budget would normally do. That's not a small responsibility — most buyers decide whether to click based on a single thumbnail image.
The good news is that this part is now cheap and mostly a matter of following a process. Staging costs about 50 cents. The photography needs a phone and an afternoon.
This guide covers the whole sequence: what to fix, how to shoot, how to stage, and what to include in the listing.
The Realistic Assessment First
Before spending time on presentation, be honest about what it can and can't do.
Staging and photography can: Make your property competitive against similar listings, help buyers judge scale, and increase click-through rate on portals.
They can't: Fix an overambitious asking price, compensate for a poor location, or hide structural problems that will surface at survey.
If your property has been listed for two months with no viewings, presentation is worth improving. If it's had viewings but no offers, the issue is more likely price or something buyers see in person.
Try DecoAI Free
3 free credits. No credit card needed. Stage any room in 30 seconds.
Get 3 Free CreditsStep 1: Fix the Small Things
This is the least glamorous part and the highest return per hour spent.
The Fifteen-Item List
Inside
- Fill and paint nail holes and picture hooks
- Touch up scuffed skirting boards and door frames
- Replace every blown bulb
- Fix dripping taps
- Oil squeaking doors and hinges
- Clean windows inside and out
- Deep clean carpets or mop hard floors
- Clear every kitchen counter completely
- Remove fridge magnets, photos, and notes
- Declutter every surface
Outside 11. Mow the lawn and cut back overgrowth 12. Clear the driveway and path 13. Clean the front door and replace the doormat 14. Remove bins from view 15. Sweep leaves and debris
Time: One day. Cost: Under $100 for most properties.
What's Worth Doing Beyond This
Repainting a room — Worth it if a room is a strong colour that will divide opinion. Neutral repaint costs $100–$200 in materials.
Replacing carpet — Only if it's visibly worn or stained. Expensive relative to the return.
New kitchen or bathroom — Rarely returns its cost when done specifically to sell. Buyers factor renovation into their offer either way.
Deep cleaning — Always worth it. A professional clean costs $150–$300 and shows in every photograph.
Step 2: Prepare Each Room for Photography
The staging output depends almost entirely on what you photograph.
For Rooms You'll Stage Digitally
Empty them completely. Every object — furniture, boxes, cleaning supplies, cables, plants. AI staging works by identifying empty floor and wall space.
If you're still living in the property, this means moving furniture out of one room at a time, photographing, then moving it back. Tedious but effective.
For Rooms You Won't Stage
Declutter aggressively. Remove roughly half of what's on display. Personal photos, ornaments, and paperwork all read as clutter in photographs.
Clear all surfaces. Kitchen counters, bathroom shelves, bedside tables.
Every Room, Regardless
- Open all curtains and blinds fully
- Turn on every light
- Clean the floor
- Check for cables running visibly
Step 3: Photograph Properly
You need a phone, natural light, and about an hour.
The Five Rules
1. Shoot between 10am and 2pm. Even light, short shadows. Avoid early morning, late afternoon, and evening.
2. Stand in a corner. Face diagonally across the room. This captures two walls and maximum floor, and makes rooms look larger.
3. Camera at chest height. Roughly 1.2 metres. Higher compresses the floor; lower makes ceilings loom.
4. Keep it level. Turn on your phone's grid or level indicator. Tilt makes vertical lines converge and looks amateur.
5. Use moderate wide-angle. 0.5x on most phones. Skip clip-on fisheye lenses — the distortion is obvious and it breaks AI staging.
What to Photograph
Essential:
- Living room (two or three angles)
- Kitchen
- Every bedroom
- Bathrooms
- Garden or outdoor space
- Front exterior
Worth including:
- Dining area
- Hallway if it's spacious
- Any distinctive feature — fireplace, view, built-in storage
Skip:
- Closets and storage cupboards
- Utility rooms
- Garages unless they're a selling feature
Exterior Shots
Front exterior photographs best in the hour before sunset — the warm light flatters brickwork and landscaping.
Move cars off the driveway. Put bins away. Shoot from an angle rather than straight on, which shows depth.
Try DecoAI Free
3 free credits. No credit card needed. Stage any room in 30 seconds.
Get 3 Free CreditsStep 4: Stage the Key Photos
You don't need to stage everything. Four to six images covers it.
What to Stage
Priority order:
- Living room — this will likely be your thumbnail
- Primary bedroom
- Second bedroom
- Dining area if you have one
- Home office or spare room
Skip: Kitchen and bathrooms. These are already furnished by definition — clearing and good photography does more than staging.
The Process
- Upload your empty room photo
- Select the room type — check this before generating
- Select a style
- Generate three variations
- Review at full size and pick the best
Time: About 20 minutes for five rooms. Cost: Roughly $1.50 including variations.
Which Style to Choose
If you're unsure: Contemporary for a house, Modern for a flat. Both are safe defaults.
Small rooms: Scandinavian — it makes compact spaces look larger.
Family home in a suburban area: Contemporary or Traditional.
City apartment: Modern or Scandinavian.
Match your property's price band. Luxury staging on a modest property creates expectations the viewing won't meet.
Use One Style Throughout
Mixing styles across rooms reads as disjointed. Pick one and use it for every staged image.
Step 5: Build the Listing
Photo Order
- Best staged image — usually the living room
- Kitchen
- Primary bedroom (staged)
- Other bedrooms
- Bathroom
- Garden or outdoor space
- Unstaged versions of staged rooms
- Front exterior
Some sellers put the exterior first. Either works — lead with whichever image is strongest.
Labelling Staged Photos
Standard practice is to caption staged images as "virtually staged" and include at least one unstaged photo of each staged room.
This is worth doing. Buyers who arrive at a viewing expecting furniture and finding an empty room lose confidence, and the labelling costs you nothing.
How Many Photos
Twelve to twenty. Fewer than eight looks like you're hiding something. More than twenty-five doesn't get viewed.
The Description
Keep it to 200–300 words. Lead with your property's single most distinctive feature. Include:
- Room count and approximate sizes
- Heating type and age
- Any recent work — new roof, boiler, windows, rewiring
- Parking arrangement
- Garden orientation
- Council tax or property tax band
- Transport times with actual numbers
- Nearest schools by name
Avoid stacked adjectives and generic openers. Specifics read as honest.
Common Private Seller Mistakes
1. Photographing in Poor Light
Evening photos, curtains half closed, lights off. The single most common issue with private listings.
2. Too Few Photos
Buyers assume you're hiding something. Twelve minimum.
3. Personal Items Everywhere
Family photos, children's drawings on the fridge, toiletries in the bathroom. Buyers need to imagine themselves in the space.
4. Not Clearing Rooms Before Staging
AI staging needs empty rooms. Leftover objects produce visible artifacts.
5. Over-Editing Photos
Heavy filters and saturation make properties look unreal. Buyers notice the gap at viewing.
6. Using Luxury Staging on a Modest Property
Creates expectations the property can't meet.
7. Skipping the Exterior
Many buyers check the exterior first on a map before booking. Make sure yours photographs well.
8. Refusing to Adjust Price
If presentation is good and you're getting viewings but no offers, the issue is price. Better photos won't fix that.
A Realistic Timeline
Weekend One
Saturday: Work through the fifteen-item fix list. Sunday: Deep clean, including windows and floors.
Weekend Two
Saturday morning (10am–2pm): Photograph every room. Clear rooms one at a time if you're still living there. Saturday afternoon: Stage four to six images. Write the description. Sunday: Build the listing, review everything, publish.
Total: Two weekends, roughly $100 in materials, $1.50 in staging.
Frequently Asked Questions
Can I stage my own home photos without hiring anyone?
Yes. AI staging tools require no design skill — upload a photo, pick a style, download. About 20 minutes for a full property.
How much does it cost to stage my own listing photos?
Roughly $1.50 for a five-room property including multiple variations, using pay-per-image AI tools.
Do I need a professional photographer to sell privately?
No. Any modern smartphone produces sufficient quality. Lighting, angle, and room preparation matter far more than camera equipment.
Should I empty rooms before photographing?
For rooms you plan to stage digitally, yes — completely. For rooms you won't stage, declutter aggressively but leave attractive furniture in place.
How many photos should a private listing have?
Twelve to twenty. Fewer looks like concealment; more doesn't get viewed.
Should I say the photos are virtually staged?
Yes. Label them and include unstaged versions. Buyers arriving to an unexpected empty room lose confidence.
What if my property isn't getting viewings?
If the photos are good and it's been two weeks with no viewings, the issue is usually price or a mismatch between the listing and what buyers in that band expect.
Is it worth repainting before selling?
Worth it for strong colours that divide opinion. Not usually worth it for neutral rooms that are simply a bit tired.
What should I fix and what should I leave?
Fix anything cosmetic and cheap — holes, scuffs, bulbs, taps. Leave anything expensive — kitchens, bathrooms, carpets. Buyers factor those into offers regardless.
Summary
The sequence: Fix small things, deep clean, photograph properly, stage four to six images, build a specific and honest listing.
The cost: Roughly $100 in materials plus $1.50 in staging.
The time: Two weekends.
The rule that matters most: photograph between 10am and 2pm, from a corner, at chest height, with a level camera and every light on. That single set of habits does more for your listing than anything else on this page.
Stage your first room free. DecoAI gives 3 free credits with no card required — enough to test your living room in three styles and see which suits your property.