Real Estate Photography Tips: Better Listing Photos with a Phone
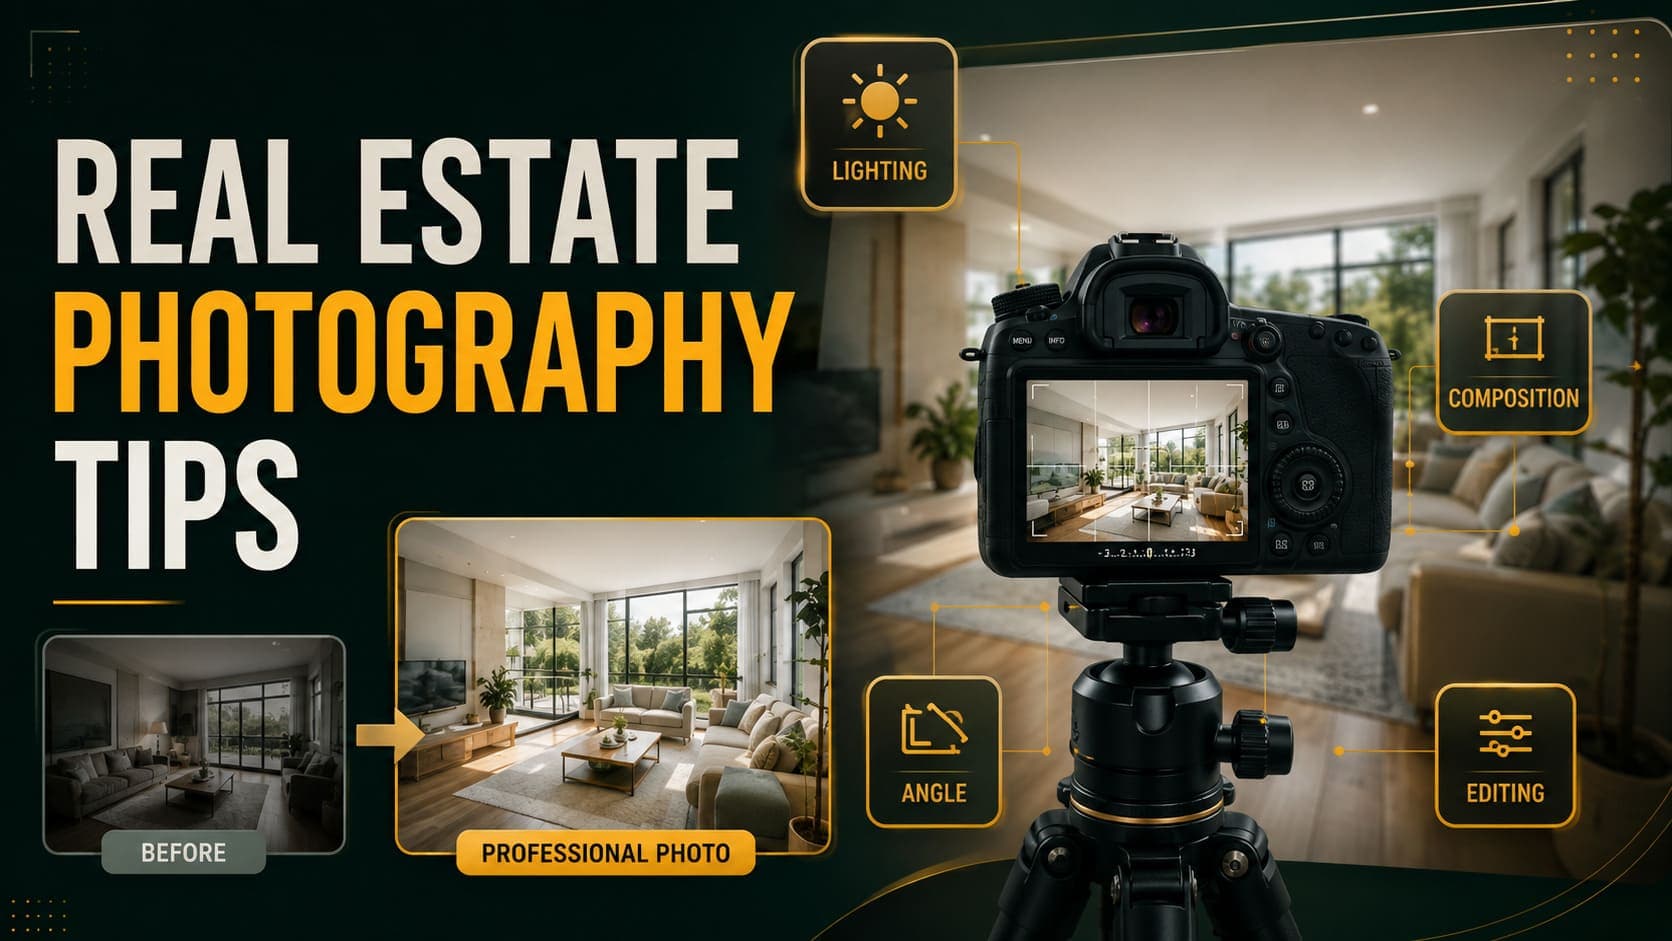
Most bad listing photos aren't bad because of the camera. They're bad because of where the photographer stood, what time of day they shot, and what was still in the room.
A modern smartphone has more than enough sensor quality for property photography. What it doesn't have is judgment about position, light, and preparation — and that's what actually separates a listing that gets clicked from one that doesn't.
This guide covers the technique. It also matters if you're using AI staging, because staging output quality depends almost entirely on input photo quality.
The Five Things That Matter Most
If you only remember five things:
- Stand in a corner, not against a wall
- Shoot at chest height (~1.2m), camera level
- Shoot midday with all curtains open and all lights on
- Empty the room completely before shooting
- Take two or three angles of every room
Everything else is refinement.
Try DecoAI Free
3 free credits. No credit card needed. Stage any room in 30 seconds.
Get 3 Free CreditsCamera Position: The Biggest Lever
Stand in a Corner
This is the single highest-impact decision you'll make.
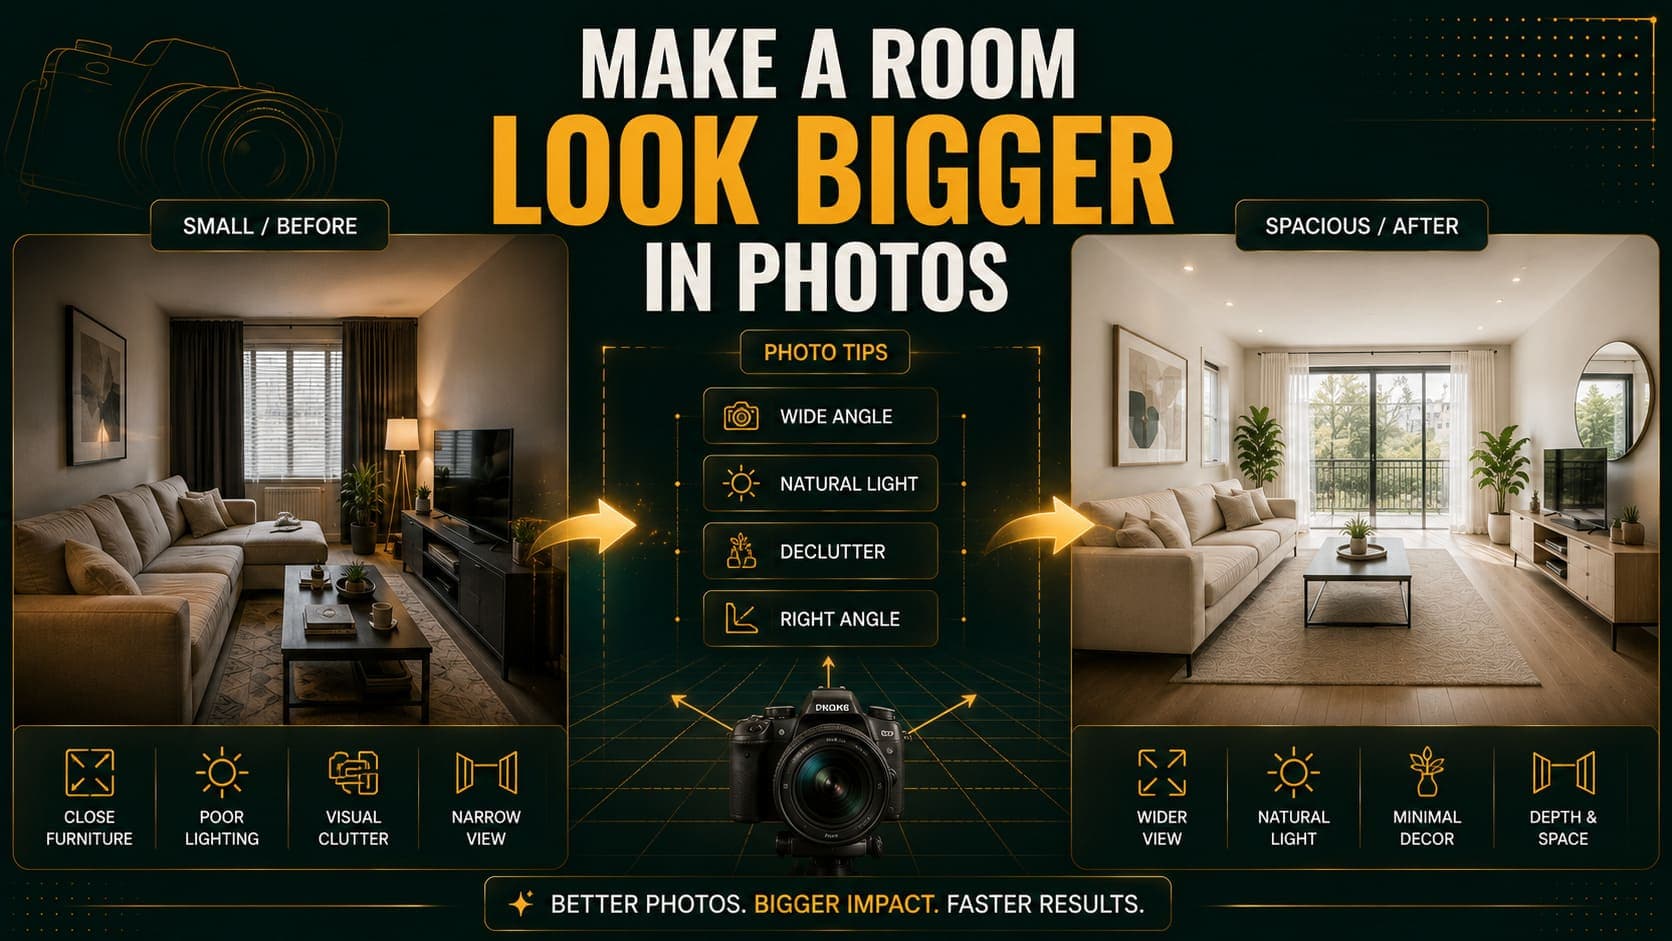
Shooting from a corner, facing diagonally across the room, captures two walls and the maximum amount of floor. The room looks larger, the composition has depth, and there's visible space for furniture — real or staged.
Shooting from the middle of a wall gives you a flat, straight-on view. One wall, minimal floor, no depth. The room looks smaller than it is.
Practical test: Take the same room from a corner and from a wall mid-point. Compare them side by side. The difference is usually dramatic.
Camera Height: Chest, Not Eye
Hold the camera at roughly 1.2 meters — chest height for most adults.
Too low (waist height, ~1m): Ceilings look enormous, floors dominate the frame, furniture looks oversized.
Too high (eye level, 1.6m+): Floor space compresses, rooms look smaller, and you get an unnatural looking-down perspective.
Chest height matches how people naturally perceive interior space.
Keep It Level
Tilt the camera up and vertical lines converge inward at the top. Tilt down and they splay outward. Both read as "off" even to viewers who can't say why.
Most phones have a built-in level indicator — usually a setting called "Grid" or "Level" in the camera app. Turn it on and keep the two crosshairs aligned.
This one adjustment does more for perceived professionalism than any editing.
Wide-Angle: Yes, But Not Extreme
Wide-angle captures more room, which helps. Extreme wide-angle distorts geometry so severely that walls curve and furniture stretches unnaturally.
If your phone has 0.5x and 1x lenses, 0.5x usually strikes the right balance. Clip-on fisheye lenses generally don't.
Lighting: When and How
Shoot Between 10am and 2pm
The sun is high, light enters evenly through windows, and shadows are short and soft.
Early morning and late afternoon produce long, directional shadows that create harsh contrast between lit and unlit areas of a room.
Evening requires artificial light only, which almost always looks worse than daylight.
Open Every Curtain and Blind
Natural light does three things: makes rooms look larger, makes colors read accurately, and signals "bright property" to viewers.
Closed or partially closed window coverings make rooms look dim and smaller than they are.
Turn On Every Light
Even at midday. Ceiling lights, lamps, under-cabinet strips — all of them.
Interior lights fill the shadow areas that windows don't reach. Without them, corners go dark and rooms read as gloomy.
Don't Use Flash
Phone flash produces flat, harsh light with hard shadows behind furniture and a washed-out foreground. It's the fastest way to make a room look like an insurance photo.
If a room genuinely lacks light, the fix is opening curtains, turning on lamps, and shooting at midday — not flash.
Handling Bright Windows
A common problem: expose for the room and the window blows out to pure white; expose for the window and the room goes dark.
Solutions:
- Tap the screen on a mid-tone wall to set exposure there
- Use HDR mode if your phone has it
- Shoot when the sun isn't directly hitting that window
- Accept slight window blowout — viewers care more about the room than the view
Room Preparation
This is where most of the quality comes from, and it takes fifteen minutes.
Empty the Room Completely
Every object. Not most objects.
- Boxes and packing material
- Cleaning supplies, buckets, mops
- Leftover furniture, even one chair
- Tools, ladders, paint cans
- Bins, cables, extension cords
If you're using AI staging, this is non-negotiable — leftover objects produce visible artifacts in the staged output.
Clean the Floors
Dust, footprints, and scuff marks show up far more clearly in photos than they do in person. A quick sweep and wipe makes a visible difference.
Wipe Windows and Mirrors
Smudges catch light and are surprisingly obvious in the final image.
Remove Personal Items
If the property is occupied: family photos, toiletries, fridge magnets, laundry, pet items. Buyers need to imagine themselves in the space, and personal items interrupt that.
Check for Small Distractions
Look at the room through the camera before shooting:
- Light switches in the "off" position when the light is on
- Blinds at uneven heights
- Cables running along skirting boards
- Air vents, thermostats, and alarm panels in prominent positions
- Toilet seats up
Try DecoAI Free
3 free credits. No credit card needed. Stage any room in 30 seconds.
Get 3 Free CreditsShooting Order and Coverage
Which Rooms to Photograph
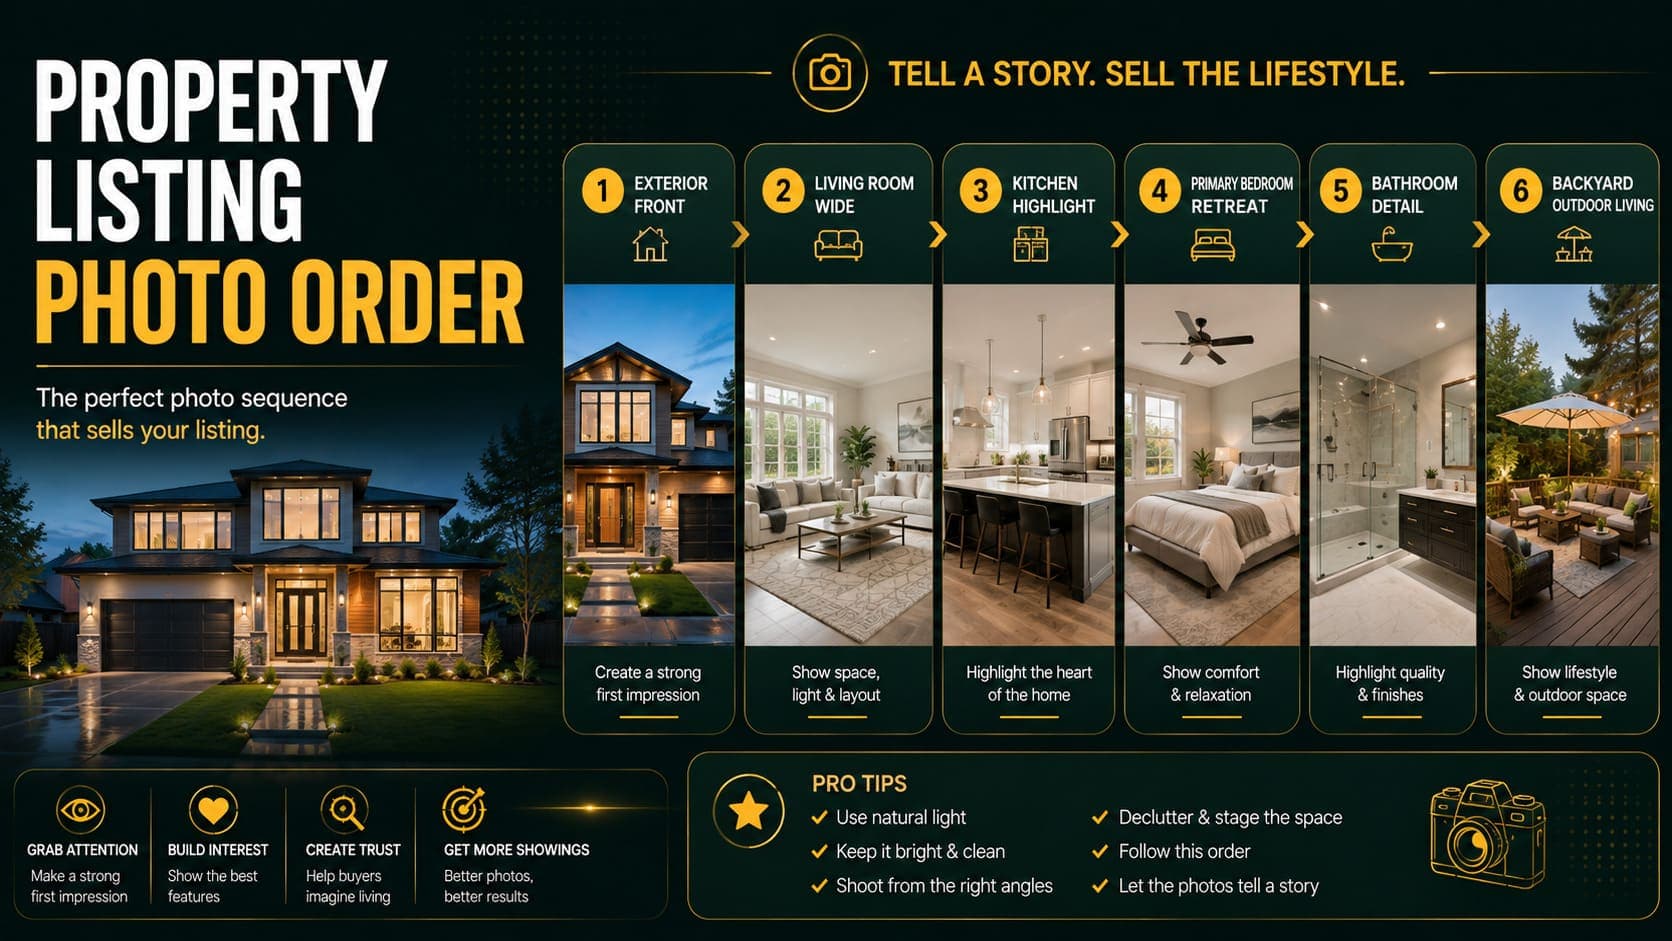
Priority order for a typical property:
- Living room — your lead image
- Kitchen — high-interest for most buyers
- Primary bedroom
- Other bedrooms
- Bathrooms
- Dining area
- Outdoor space — often underrated
- Exterior front
How Many Photos Per Room
Two to three angles per room. Different angles produce genuinely different impressions, and you won't always know which works until you compare them.
If you're staging, this matters even more — some angles stage well and others produce awkward furniture placement.
Don't Photograph Everything
Hallways, closets, utility rooms, and garages rarely add value to a listing. A gallery of 15 strong images outperforms 35 mediocre ones.
Room-Specific Tips
Living Room
Shoot from the corner furthest from the main window so you're shooting with the light rather than into it. Include the window in frame if possible — it signals natural light.
Kitchen
Clear every countertop completely. Kitchens photograph best empty of appliances, dish racks, and utensils. Shoot from the doorway or the corner with the widest view.
Bedroom
Shoot from the corner diagonally opposite the bed wall. If the bed is present, make it perfectly — wrinkles are very visible in photos.
Bathroom
Small spaces are hard. Shoot from the doorway, watch what appears in the mirror, remove all toiletries, and close the toilet lid.
Home Office
Shoot from the corner that shows the window if there is one. Buyers looking at office space want to know about natural light.
Outdoor Space
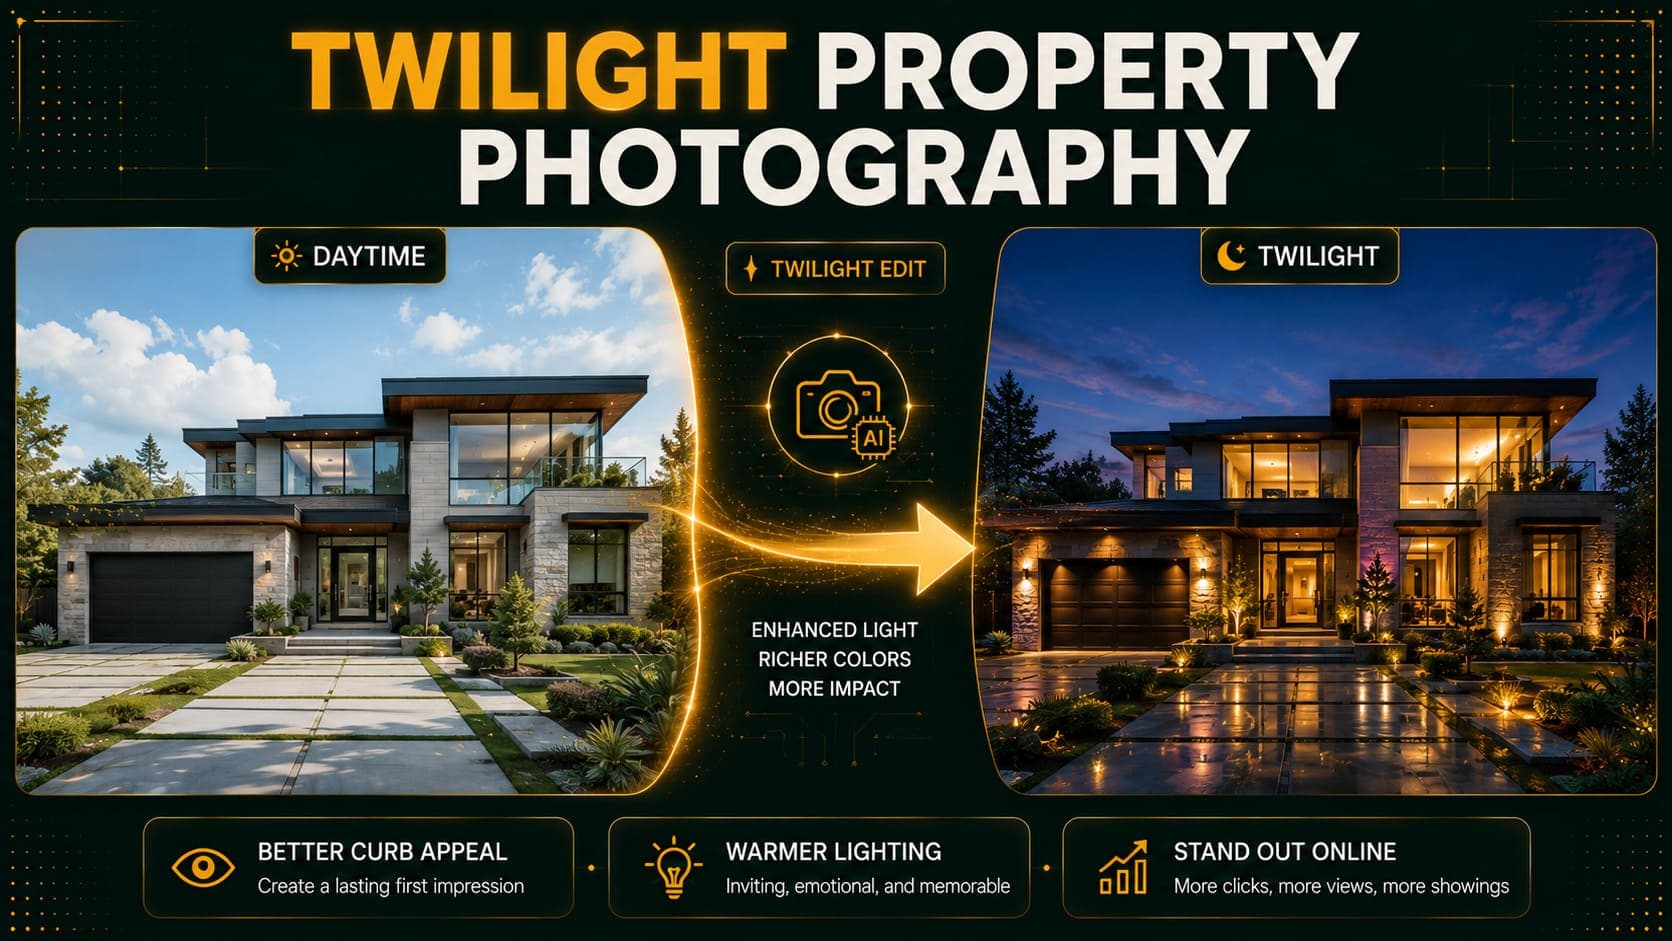
Golden hour — the hour before sunset — is usually better for exteriors and balconies than midday. The warm light flatters landscaping and building materials.
Common Mistakes
1. Shooting Into the Light
Pointing the camera directly at a bright window means the room falls into shadow. Position yourself so windows are to the side or behind you where possible.
2. Tilted Camera
The most common technical error. Turn on your level indicator.
3. Standing Against a Wall
Produces flat, cramped compositions. Corners give depth.
4. Shooting a Cluttered Room
No editing or staging recovers from this. Clear the room first.
5. Using Flash
Harsh, flat, and immediately recognizable as an amateur photo.
6. Photographing Every Room
More photos isn't better. Curate.
7. Over-Editing
Heavy saturation and aggressive HDR make photos look unreal. Buyers who visit and find a gap between the photos and reality lose trust.
8. Shooting Only One Angle
Costs nothing to shoot two or three, and the difference between the best and worst angle of a room is often significant.
Basic Editing
You don't need Photoshop. Free mobile apps handle everything that matters.
What to Adjust
Straighten — Correct any slight tilt. Most apps have automatic vertical correction.
Exposure — Brighten slightly if the room reads dark. Don't overdo it; blown-out highlights look worse than slightly dark corners.
Contrast — A small increase adds definition. Heavy contrast looks artificial.
White balance — Interior lights create a yellow-orange cast. Cooling this slightly makes whites look white.
What Not to Do
- Heavy saturation
- Aggressive HDR
- Sky replacement that doesn't match the light in the rest of the photo
- Anything that changes the property's actual appearance
Free Tools Worth Using
- Snapseed — Free, powerful, good perspective correction
- Lightroom Mobile — Free tier covers everything above
- Your phone's native editor — Often sufficient for straightening and exposure
Photography for AI Staging
If your photos are going into an AI staging tool, a few extra considerations:
The Room Must Be Genuinely Empty
AI staging generates furniture into empty space. Leftover objects confuse the geometry mapping and produce visible artifacts.
Avoid Extreme Wide-Angle
Heavy distortion breaks the AI's perspective calculation. Furniture will be generated at angles that don't match the room.
Even Lighting Helps
Strong shadow-to-highlight contrast makes it harder for the AI to place realistic shadows under generated furniture.
Shoot Multiple Angles
Some angles stage better than others. At $0.10 per staging attempt, testing two angles is cheap insurance.
Don't Compress Before Uploading
Send the original file. Higher resolution input produces sharper staged output.
Frequently Asked Questions
Do I need a professional camera for listing photos?
No. Any smartphone from the last five years produces sufficient resolution. Position, lighting, and preparation matter far more than sensor quality.
What time of day is best for property photos?
Interiors: 10am to 2pm. Exteriors: the hour before sunset for warmer light.
Should I use a tripod?
Helpful but not essential. A tripod keeps the camera level and consistent between shots. If you're shooting handheld, use your phone's level indicator.
How many photos should a listing have?
Typically 15–25 strong images. More isn't better — a curated set outperforms an exhaustive one.
Should I photograph rooms with furniture or empty?
Empty if you're planning to stage them digitally. Furnished if the furniture is attractive and well-arranged. Never with partial or leftover furniture.
How do I make small rooms look bigger?
Shoot from a corner, use moderate wide-angle, maximize light, keep the room completely clear, and shoot at chest height.
Is it OK to edit listing photos?
Standard adjustments — straightening, exposure, white balance, mild contrast — are normal practice. Changes that alter the property's actual appearance are a different matter and generally aren't advisable.
What's the most common mistake?
Shooting from the middle of a wall instead of a corner. It's the difference between a room looking spacious and looking cramped, and it costs nothing to fix.
Quick Checklist
Before shooting
- Room completely empty
- Floors swept and wiped
- Windows and mirrors cleaned
- All curtains and blinds fully open
- Every light switched on
- Personal items removed
While shooting
- Standing in a corner, facing diagonally
- Camera at chest height (~1.2m)
- Level indicator on and aligned
- Moderate wide-angle, not fisheye
- Shooting between 10am and 2pm
- Two or three angles per room
- No flash
After shooting
- Straighten any tilt
- Adjust exposure and white balance lightly
- Keep edits subtle
- Curate down to your strongest 15–25 images
Planning to stage the photos? Good input produces good output. DecoAI gives 3 free credits with no card required — shoot one room using the checklist above and see the difference proper photography makes to staged results.