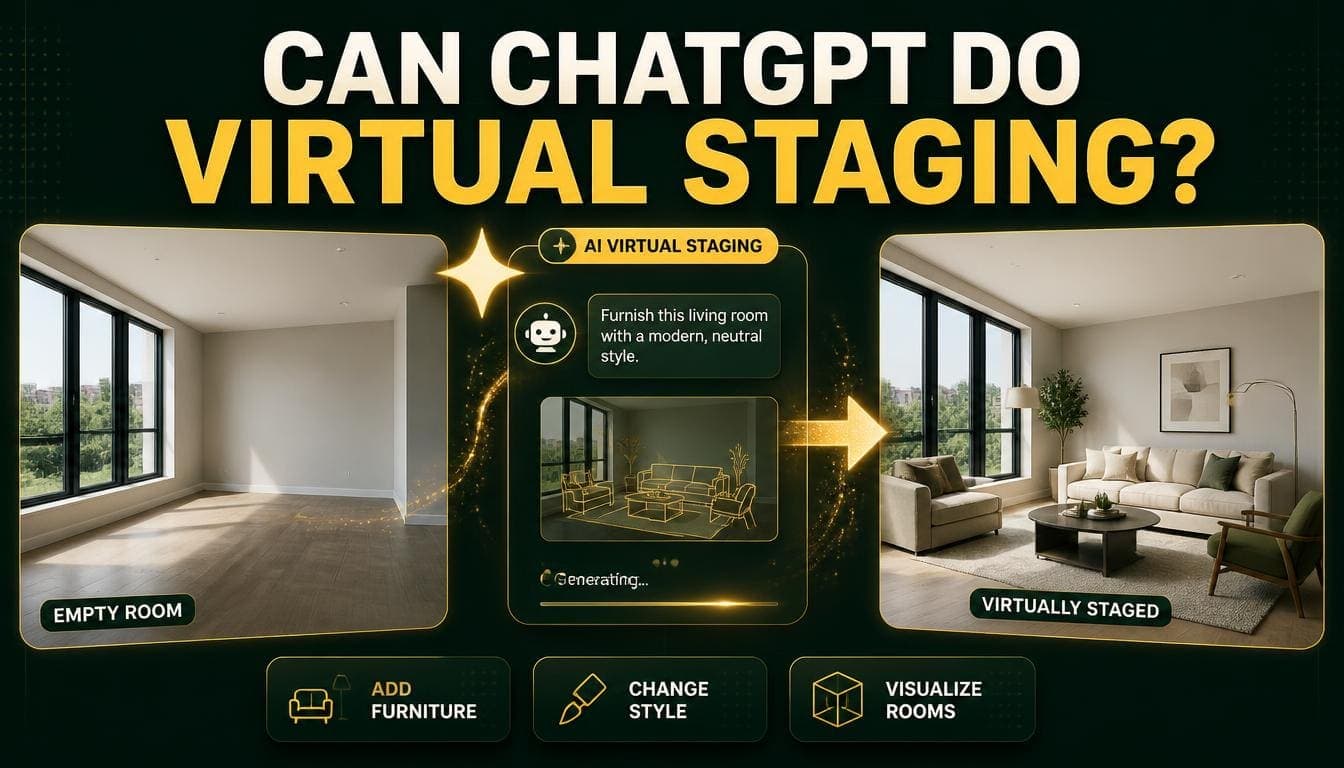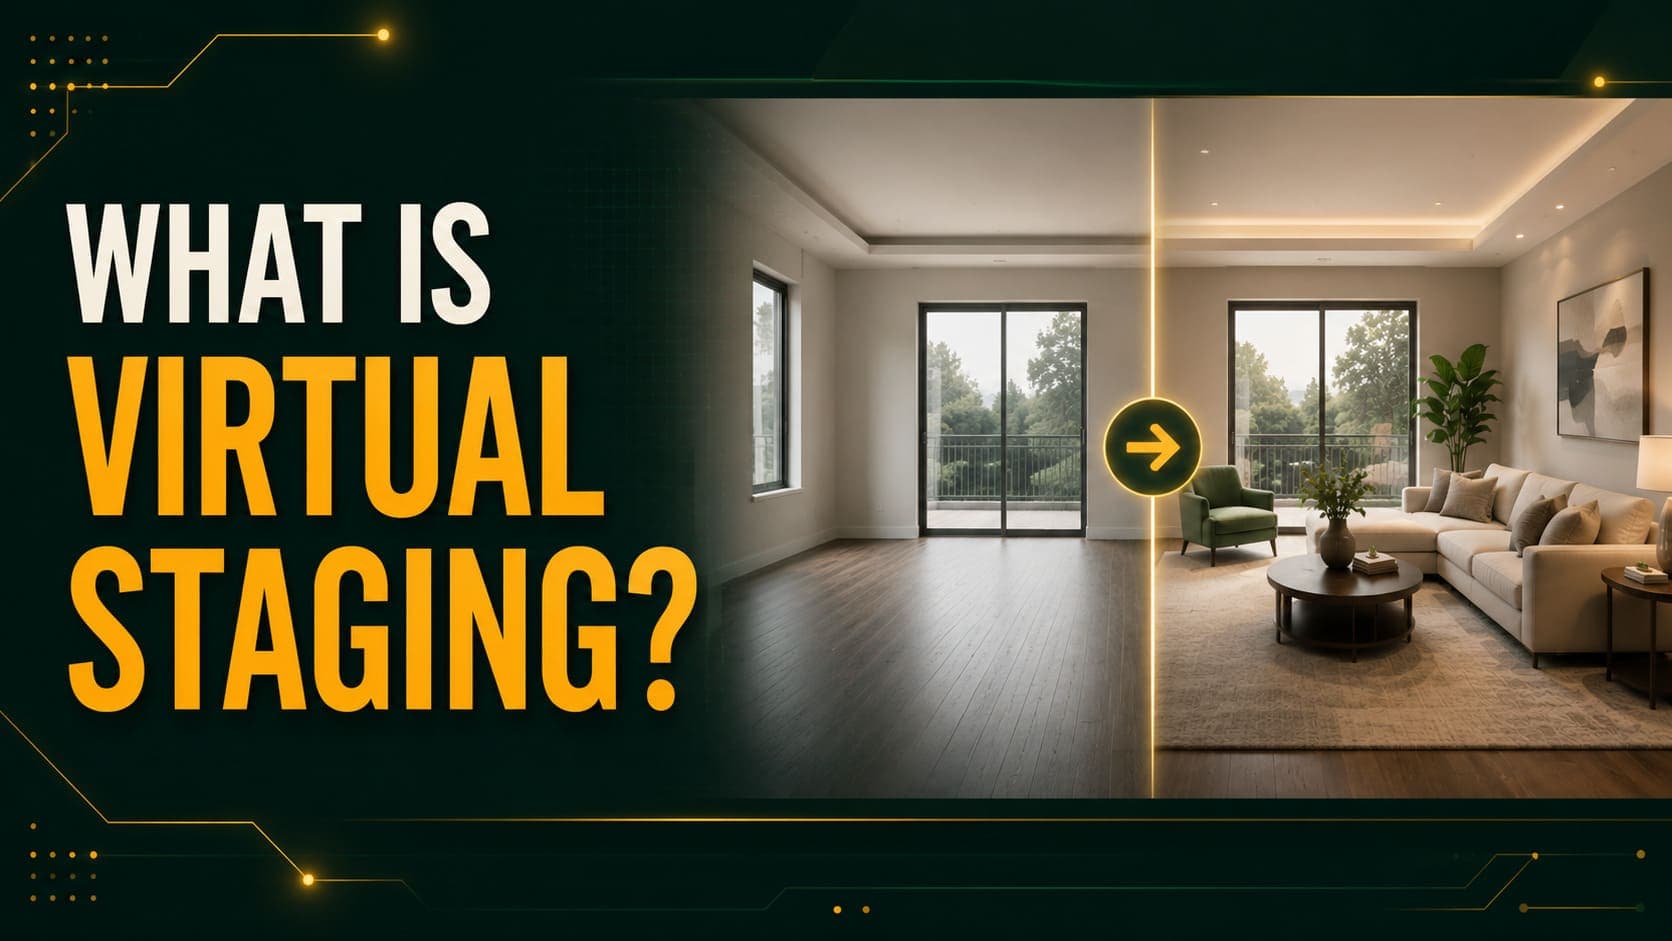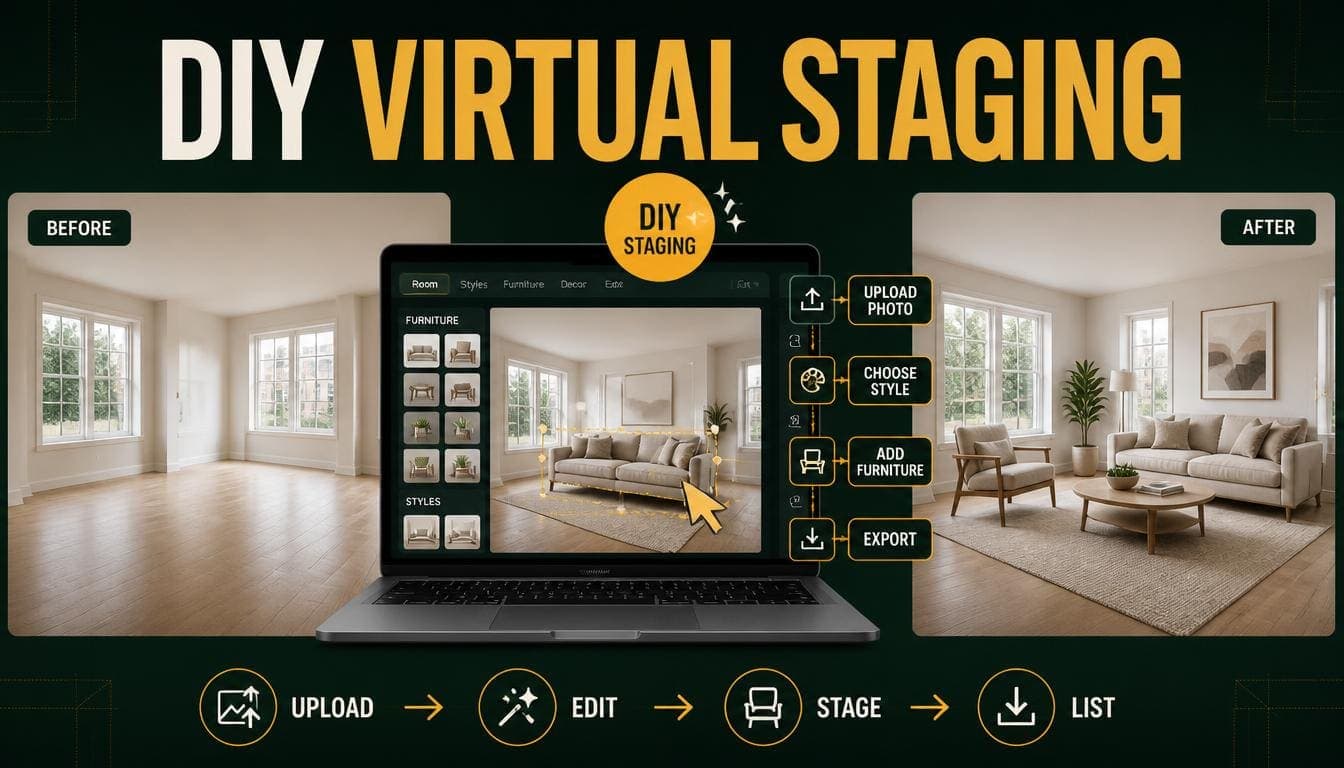
Virtual staging used to require hiring someone. Now it takes about an hour and costs under $2 for a full property, which means doing it yourself is the default rather than the budget option.
The tools require no design skill. What they do require is decent input photos, and that's where most DIY attempts go wrong.
This is the complete process, including the parts that determine whether the output is usable.
What DIY Staging Involves
Time: Roughly one hour for a five-room property.
- 15 minutes room preparation
- 15 minutes photography
- 20 minutes staging
- 10 minutes review and download
Cost: $0.50–$2 depending on how many variations you generate.
Skills needed: None beyond following the photography steps.
Equipment: A smartphone from the last five years.
Try DecoAI Free
3 free credits. No credit card needed. Stage any room in 30 seconds.
Get 3 Free CreditsStep 1: Prepare the Rooms
The step that determines output quality more than anything else, and the one people skip.
Empty Completely
Every object. Not most objects — every object.
- Boxes and packing material
- Cleaning supplies, buckets, mops
- Leftover furniture, including a single chair
- Tools, ladders, paint tins
- Bins, cables, extension leads
- Rugs and mats
Why it matters: AI staging works by identifying empty floor and wall regions and generating furniture into them. Any leftover object confuses that process and produces visible artifacts.
If you still live there: clear one room at a time, photograph, then move things back. Tedious but effective.
Clean the Floor
Dust, footprints, and scuff marks are more visible in photographs than in person. The AI won't remove them — it stages around them.
Five minutes with a broom and a cloth makes a visible difference.
Open Everything
All curtains and blinds, fully. Natural light does more for the result than any other single factor.
Turn On Every Light
Even at midday. Ceiling fixtures, lamps, under-cabinet strips. Interior lights fill the shadow corners that windows don't reach.
Dark corners read as boundaries and make rooms look smaller.
Step 2: Photograph Properly
Time of Day
Between 10am and 2pm. Even light, short shadows, natural colour.
Avoid early morning, late afternoon, and evening. Long directional shadows make the AI's job harder and often look wrong once furniture is added.
Camera Position
Stand in a corner, facing diagonally across the room.
This is the highest-impact photography decision. A corner shot captures two walls and maximum floor, which gives the AI space to place furniture naturally.
Shooting from the middle of a wall produces a flat composition with nowhere for furniture to sit.
Which corner: the one furthest from the main window, so you're shooting with the light rather than into it.
Camera Height
Chest height — roughly 1.2 metres.
Lower makes the floor dominate and ceilings loom. Higher compresses the floor and makes rooms look smaller.
Keep It Level
Turn on your phone's grid or level indicator — usually under Camera settings.
A tilted camera skews the AI's 3D reconstruction of the room, and furniture gets generated to match the skew. It's one of the most common causes of results that look subtly wrong.
Lens
Use 0.5x if your phone has it. Moderate wide-angle captures more of the room without breaking geometry.
Avoid clip-on fisheye lenses. Heavy distortion breaks the perspective calculation entirely.
Take Multiple Angles
Two or three per room. Some angles stage better than others and it isn't always predictable.
At $0.10 per attempt, testing two angles costs $0.20.
Try DecoAI Free
3 free credits. No credit card needed. Stage any room in 30 seconds.
Get 3 Free CreditsStep 3: Choose a Tool
What to Compare
Output quality — run one of your actual photos through each option before committing.
Pricing model — pay-per-image versus subscription. For DIY use, pay-per-image is almost always cheaper.
Watermarks — some "free" tiers watermark output, which makes them demos rather than free tiers.
Resolution — check the download resolution matches or exceeds your input.
The Free Tier Test
Most tools offer some free credits. Use them on one representative photo across three or four tools and compare at full size.
Time: about 30 minutes. Cost: nothing.
This is more useful than reading comparisons, because it tests against your actual photos rather than someone else's demos.
Pricing Reality
For DIY use, subscriptions rarely make sense. A $29 monthly subscription only beats $0.10 per image above roughly 290 images per month.
A five-room property with three variations each is 15 images — $1.50.
Step 4: Generate
Select the Room Type
The dropdown tells the AI which furniture category to generate. Selecting "bedroom" for a living room produces a bed in your living room.
Check this before every generation. It's a two-second check that prevents a wasted credit.
Select a Style
If you're unsure:
- Urban apartment → Modern or Scandinavian
- Suburban house → Contemporary
- Small rooms → Scandinavian
- Family market → Contemporary or Traditional
Match the property tier. Luxury staging on a modest property creates expectations the viewing won't meet.
Use one style throughout. Mixing styles across rooms reads as disjointed.
Generate Multiple Variations
Three to five per room. Results vary meaningfully between attempts.
At $0.10 each, picking the best from five costs $0.50 and noticeably improves what you end up with.
Step 5: Review Properly
Artifacts hide in thumbnails. Open every image at full size before using it.
What to Check
Floor contact — does furniture sit flat, or float slightly above the floor?
Scale — is the sofa plausible relative to the door frame? Is the bed proportionate to the room?
Shadows — do they fall in the same direction as the real light from the windows?
Intersections — does anything pass through a wall or block a doorway?
Clearance — is there visible floor between furniture and walls?
Density — does the room look workable, or packed?
If Something's Wrong
One variation has a problem: regenerate.
Every variation has the same problem: the input photo is the issue. Reshoot with better light, a different angle, or a level camera.
Step 6: Use the Output
Photo Order
Lead with your strongest staged image — usually the living room.
Labelling
Standard practice is to caption staged images as "virtually staged." Most people do this as a matter of course.
Include Unstaged Versions
At least one unstaged photo of each staged room, placed at the end of the gallery. It shows the actual space and prevents surprise at the viewing.
Resolution
Download at full resolution. Check what you get matches what you need — some tools deliver smaller than the input.
What DIY Staging Can't Do
Being clear about the limits.
Unusual room shapes. L-shaped rooms, split levels, sloped ceilings, and structural intrusions confuse depth estimation.
Non-standard rooms. Home gyms, nurseries, wine cellars, workshops.
Occupied rooms. Results are unreliable when furniture is present.
Specific furniture requests. AI works from style presets. "Navy sofa against the left wall" isn't something you can ask for.
Layout changes. It adds furniture to existing geometry. It doesn't move walls.
Very large spaces. Above roughly 200–300 m², furniture scale becomes implausible.
When you need any of these: a human designer service at $16–$49 per image handles custom requests, and rendering handles structural change.
Common DIY Mistakes
1. Not Emptying the Room
The most common and most damaging. Leftover objects produce visible artifacts.
2. Poor Lighting
Dark, muddy results with furniture that looks pasted on.
3. Tilted Camera
Produces furniture that appears to lean. Turn on the level indicator.
4. Shooting from a Wall
Flat, cramped composition with minimal floor for the AI to work with.
5. Extreme Wide-Angle
Fisheye distortion breaks perspective calculation.
6. Accepting the First Result
At $0.10 per attempt there's no reason to. Generate three to five.
7. Reviewing on a Phone
Artifacts hide at small sizes. Check at full resolution.
8. Mixing Styles
One style across the whole property.
The Full Checklist
Room preparation
- Completely empty, every object
- Floor swept and wiped
- All curtains and blinds fully open
- Every light switched on
Photography
- Between 10am and 2pm
- Standing in a corner, facing diagonally
- Chest height, roughly 1.2 metres
- Level indicator on and aligned
- 0.5x wide angle, not fisheye
- Two or three angles per room
Generation
- Room type verified before each generation
- Style matched to property tier and market
- Same style across the whole property
- Three to five variations per room
Review
- Every image opened at full size
- Floor contact, scale, shadows, intersections checked
- Regenerate anything with problems
- Reshoot if every variation fails the same way
Output
- Downloaded at full resolution
- Strongest image leading the gallery
- Staged images labelled
- Unstaged versions included at the end
Frequently Asked Questions
Can I do virtual staging myself?
Yes. Modern AI tools require no design skill — upload a photo, select a room type and style, download. About an hour for a five-room property.
How much does DIY virtual staging cost?
$0.50–$2 for a full property with pay-per-image tools, including multiple variations.
Do I need a professional camera?
No. Any smartphone from the last five years produces sufficient resolution. Lighting, angle, and room preparation matter far more than the camera.
What's the most important step?
Emptying the room completely. It determines output quality more than any other single factor.
How many variations should I generate?
Three to five per room. Results vary between attempts and the cost of picking the best from five is negligible.
Why does my staged image look wrong?
Most commonly: the room wasn't fully cleared, the lighting was poor, or the camera was tilted. All three break the AI's understanding of the room.
Should I use a subscription or pay per image?
Pay per image for DIY use. A $29 subscription only beats $0.10 per image above roughly 290 images monthly.
Can I stage a room that still has furniture?
Results are unreliable. Clear the room and reshoot if you can. Some tools offer furniture removal, which works when under about 40% of the floor is covered.
What if my room is an unusual shape?
AI staging struggles with L-shaped rooms, split levels, and sloped ceilings. Shoot from an angle showing the most regular part, or accept that some spaces don't stage well.
Summary
Time: about an hour for a five-room property. Cost: $0.50–$2. Skills required: none beyond following the photography steps.
The steps: empty the rooms completely, photograph from a corner at chest height with a level camera in midday light, generate three to five variations per room, review at full size, and label the output.
What determines quality: room preparation and photography. The tool matters less than the input.
The limits: unusual room shapes, non-standard rooms, occupied rooms, specific furniture requests, and layout changes.
Start with the free credits. DecoAI gives 3 free credits with no card required — enough to test your photography approach on one room before staging the rest.